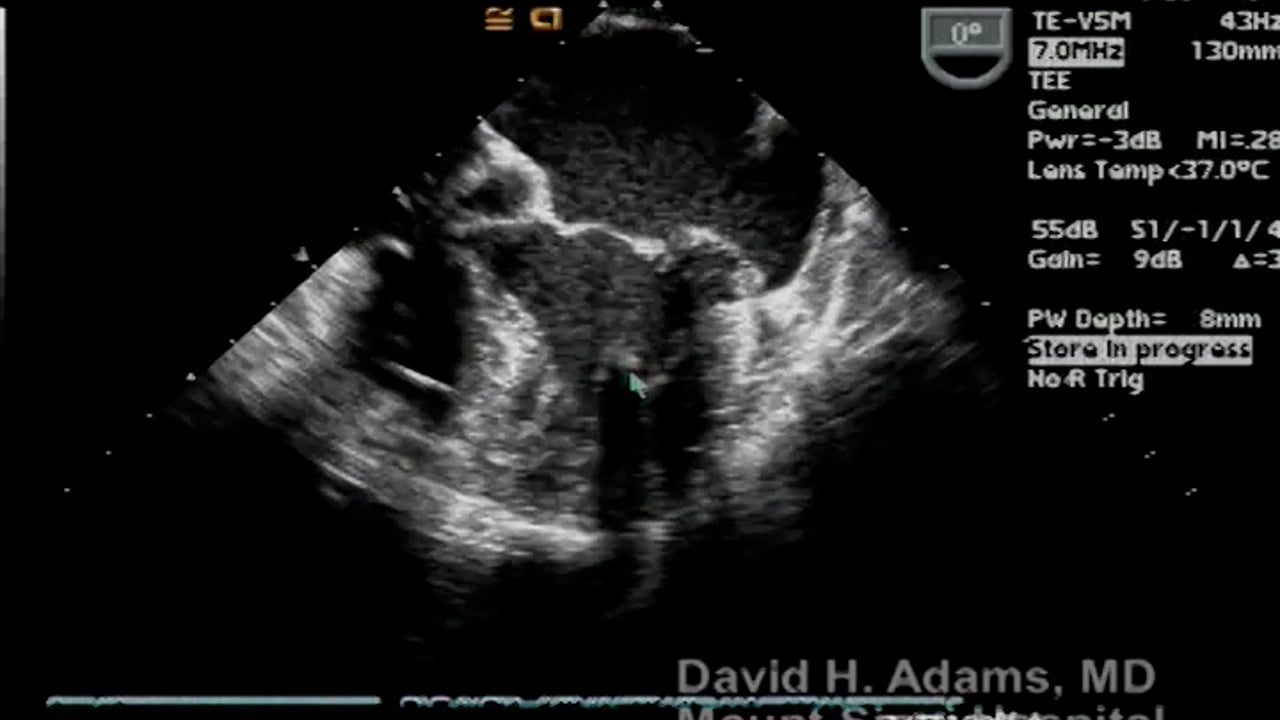
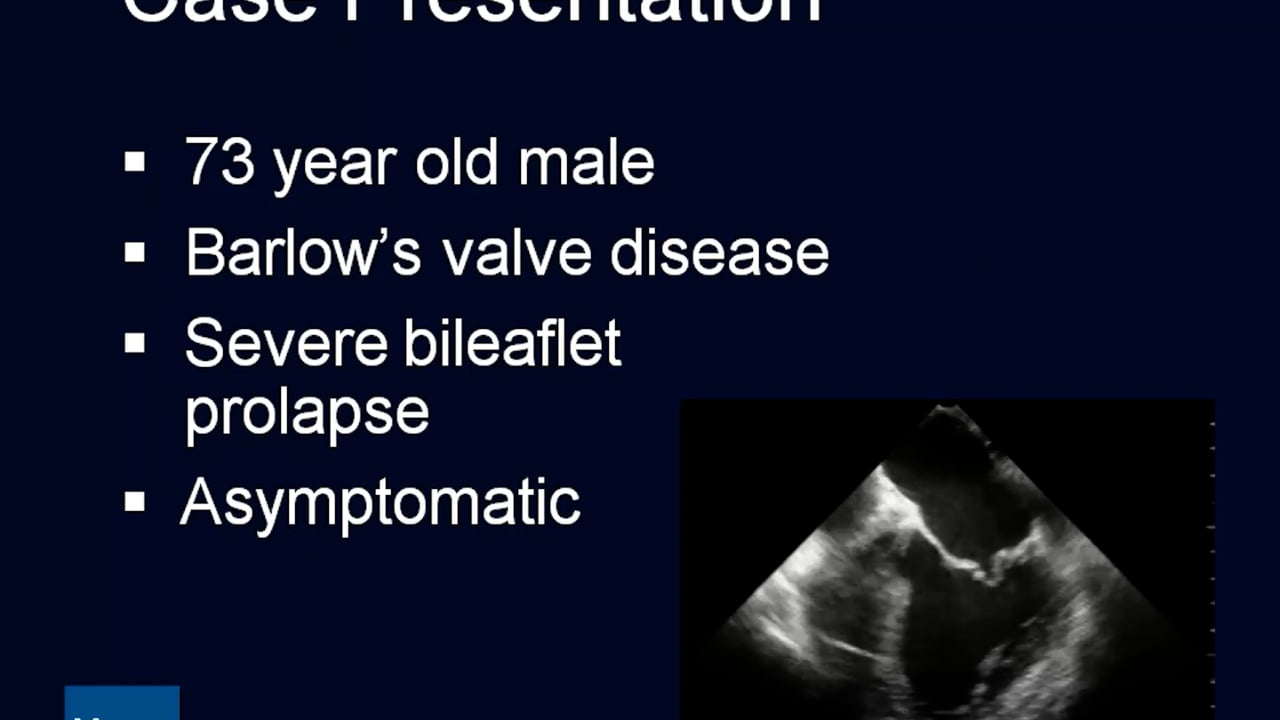
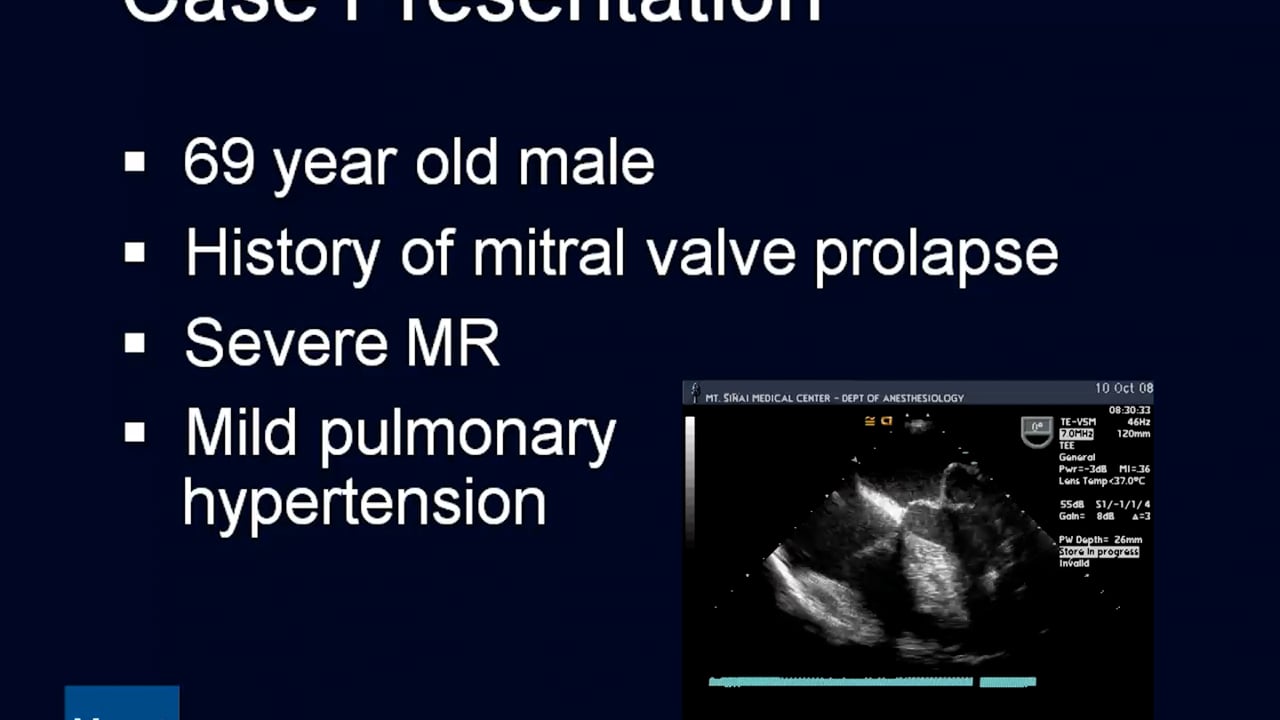
PREOPERATIVE DIAGNOSIS: Mitral Regurgitation
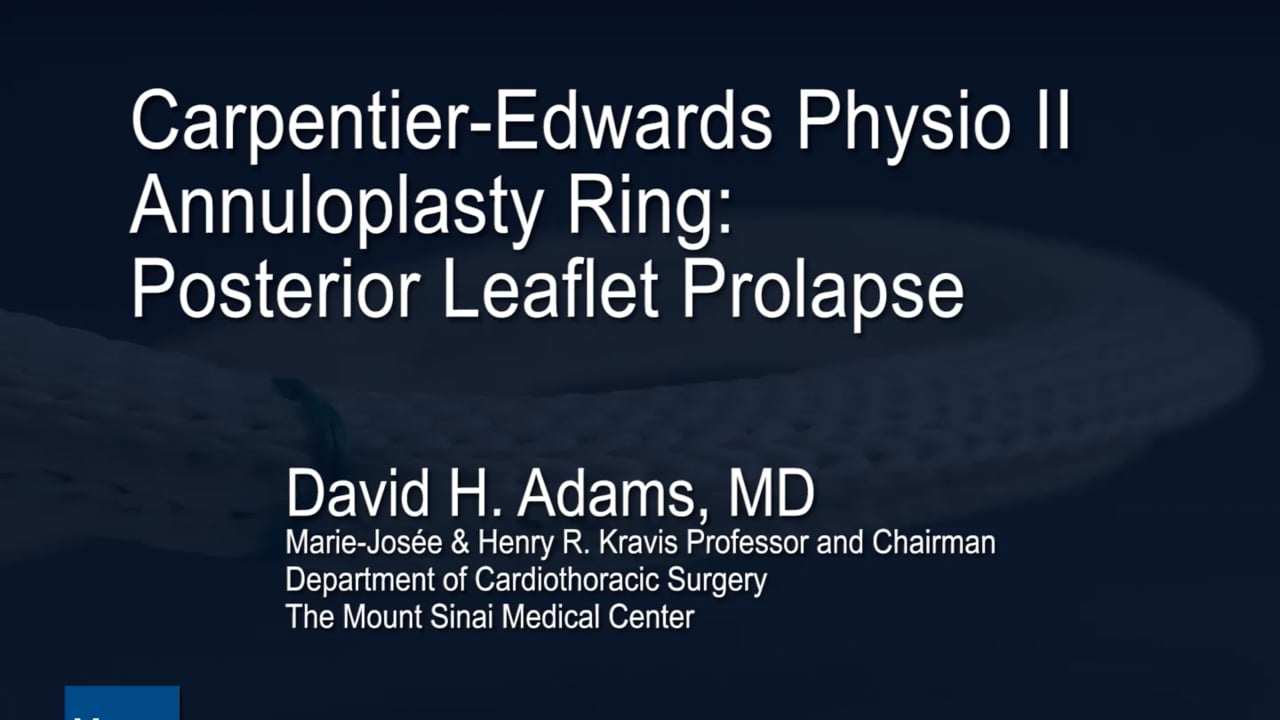
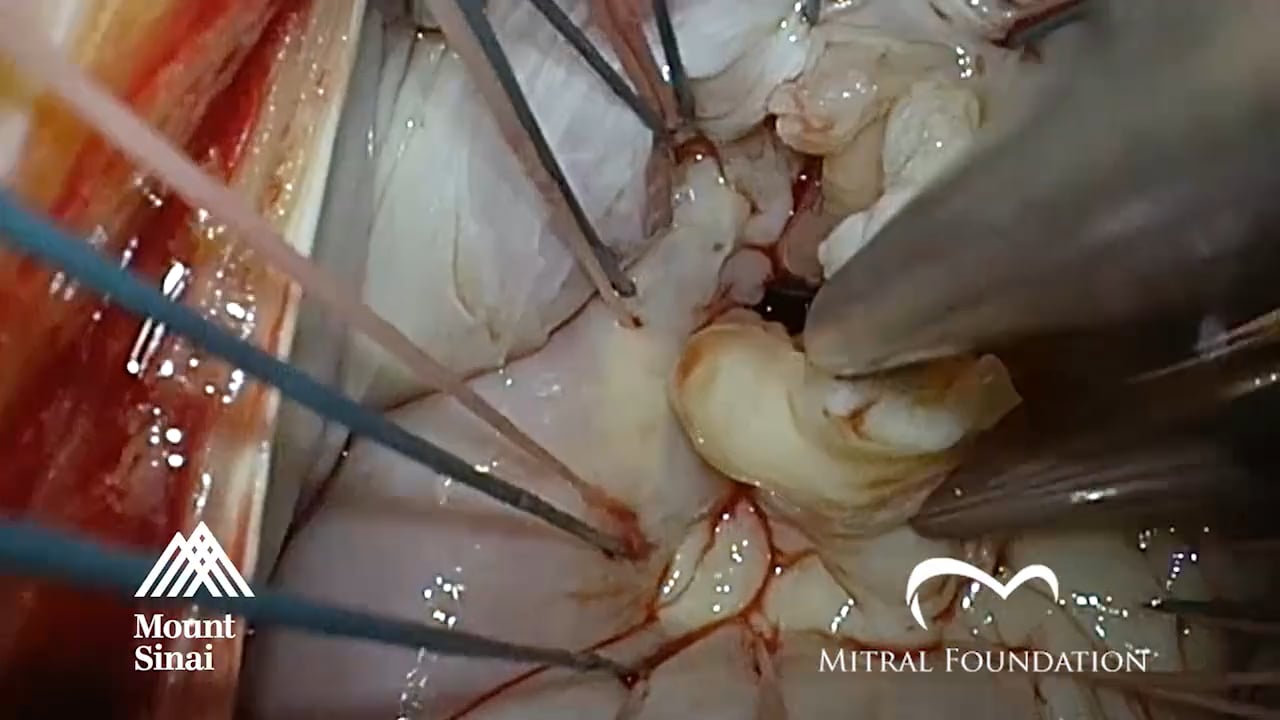
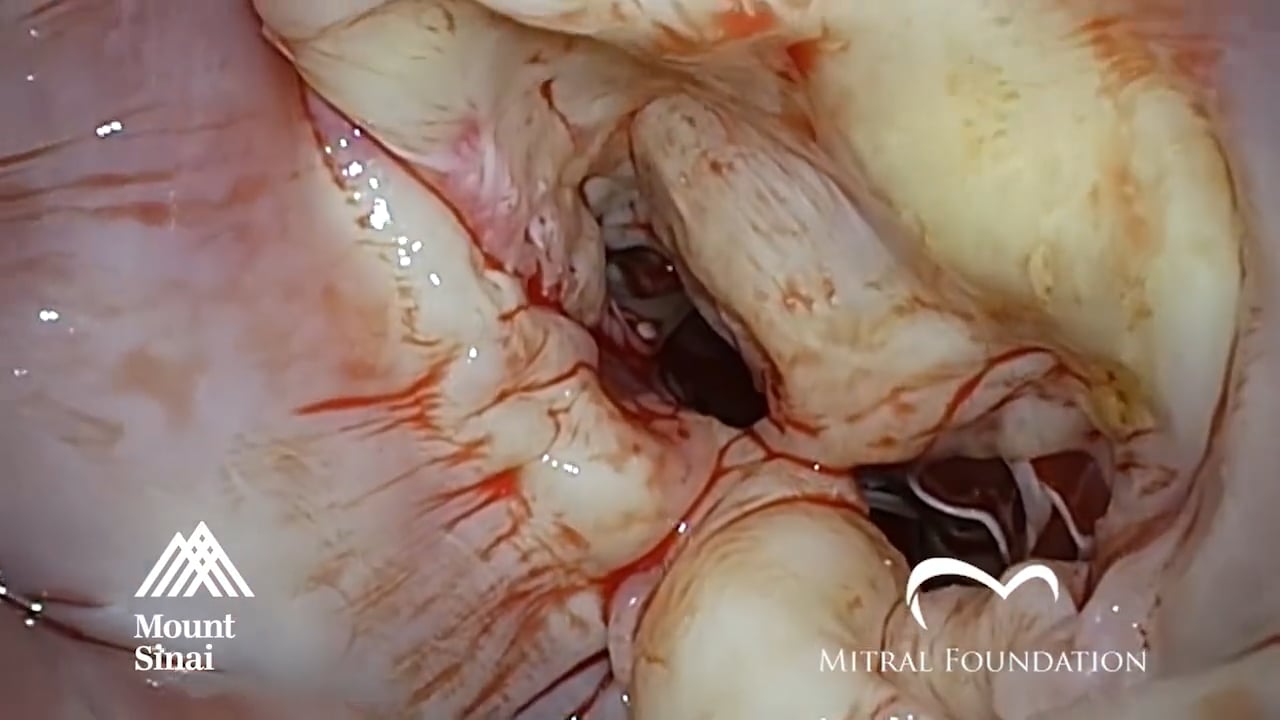
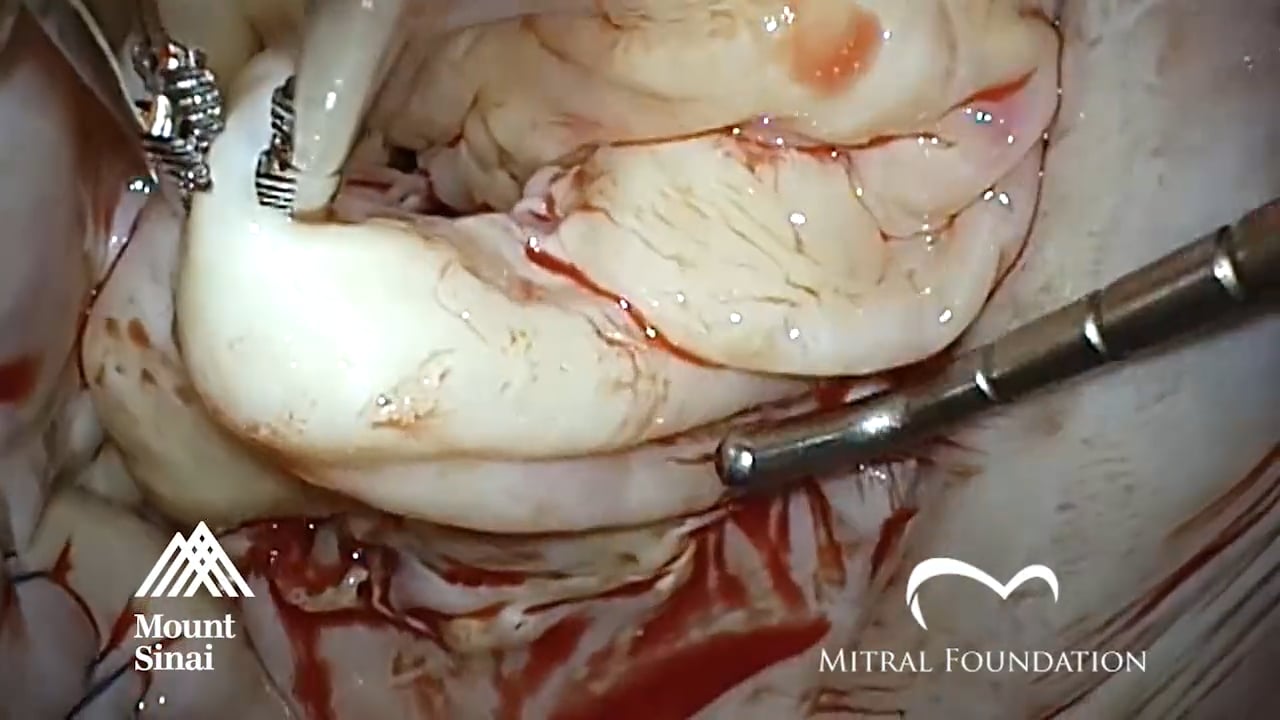
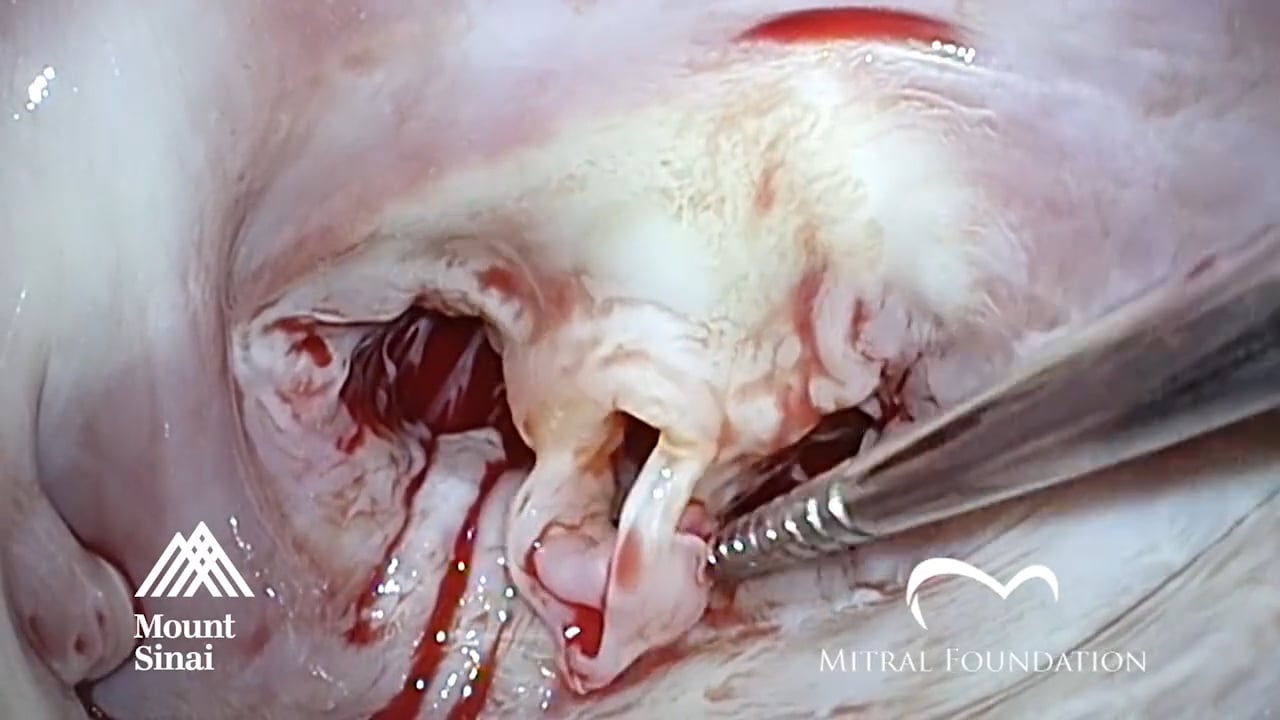
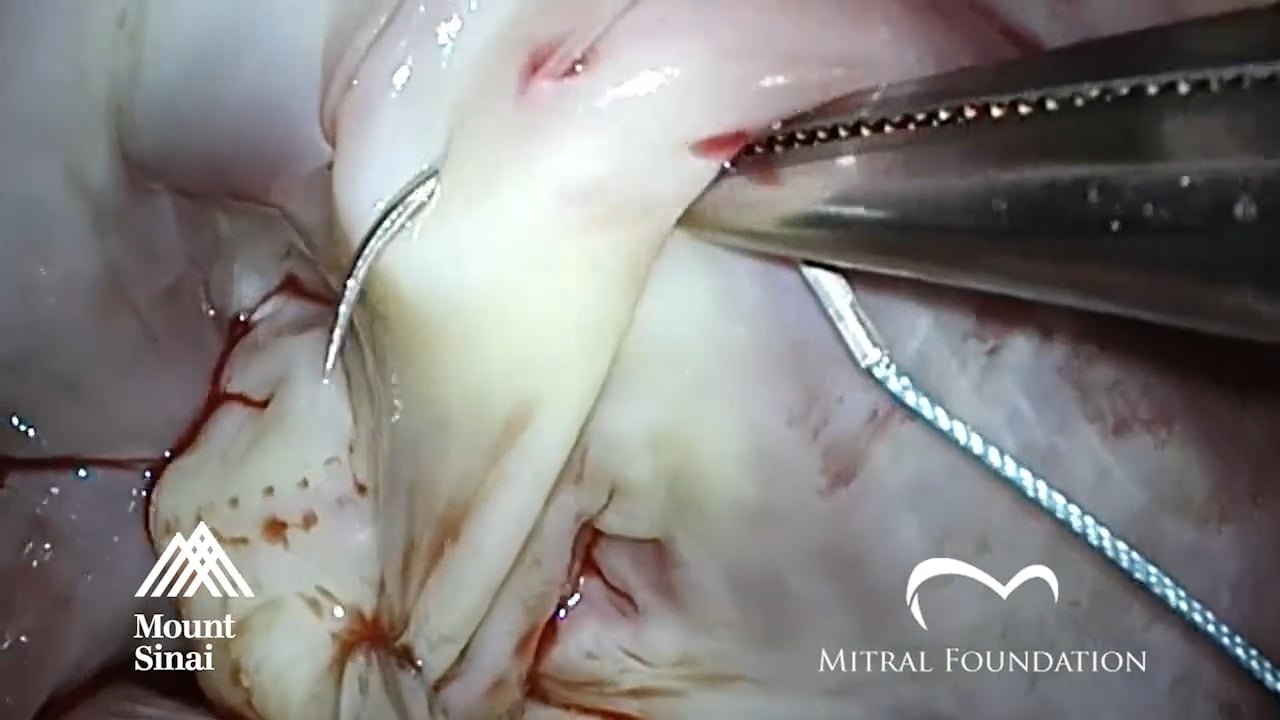
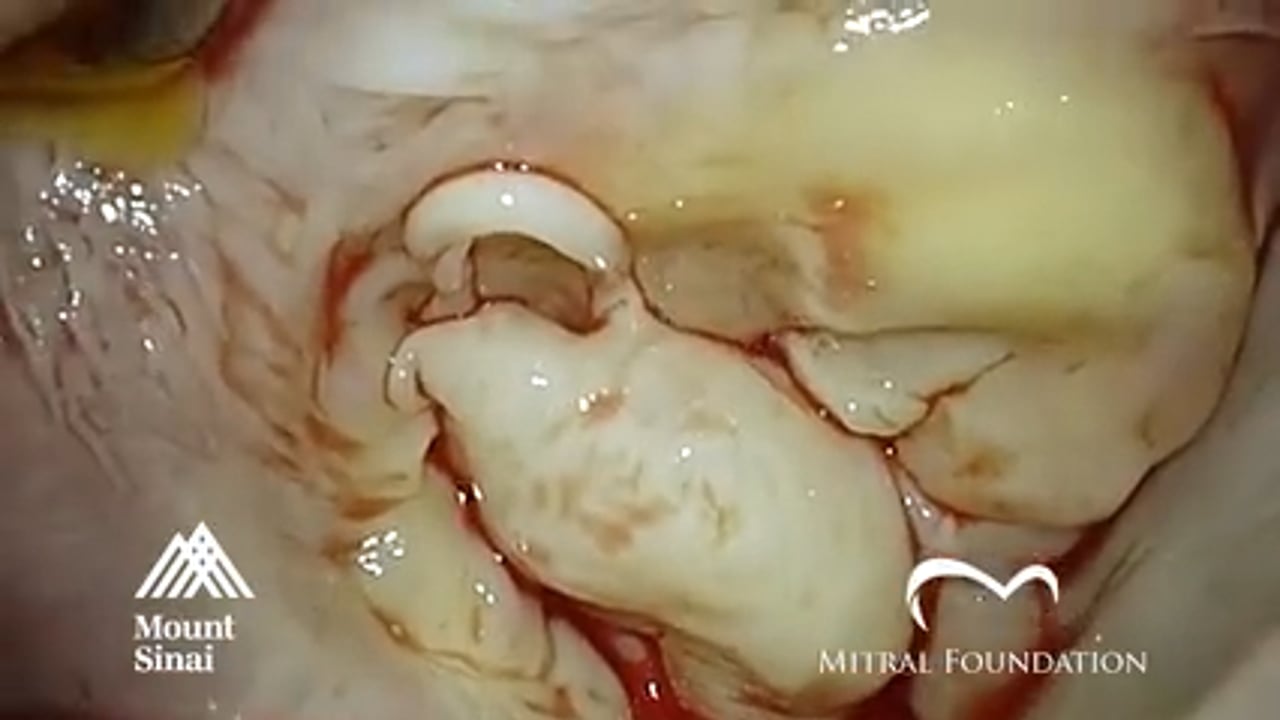
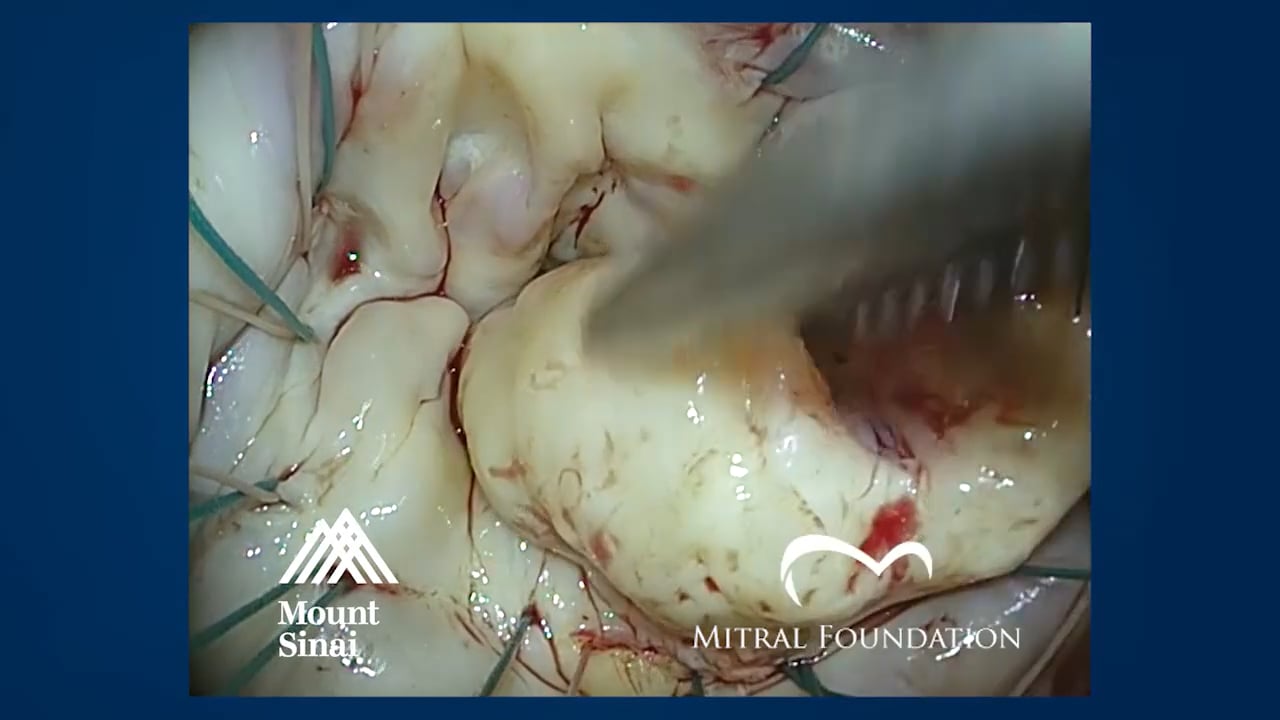
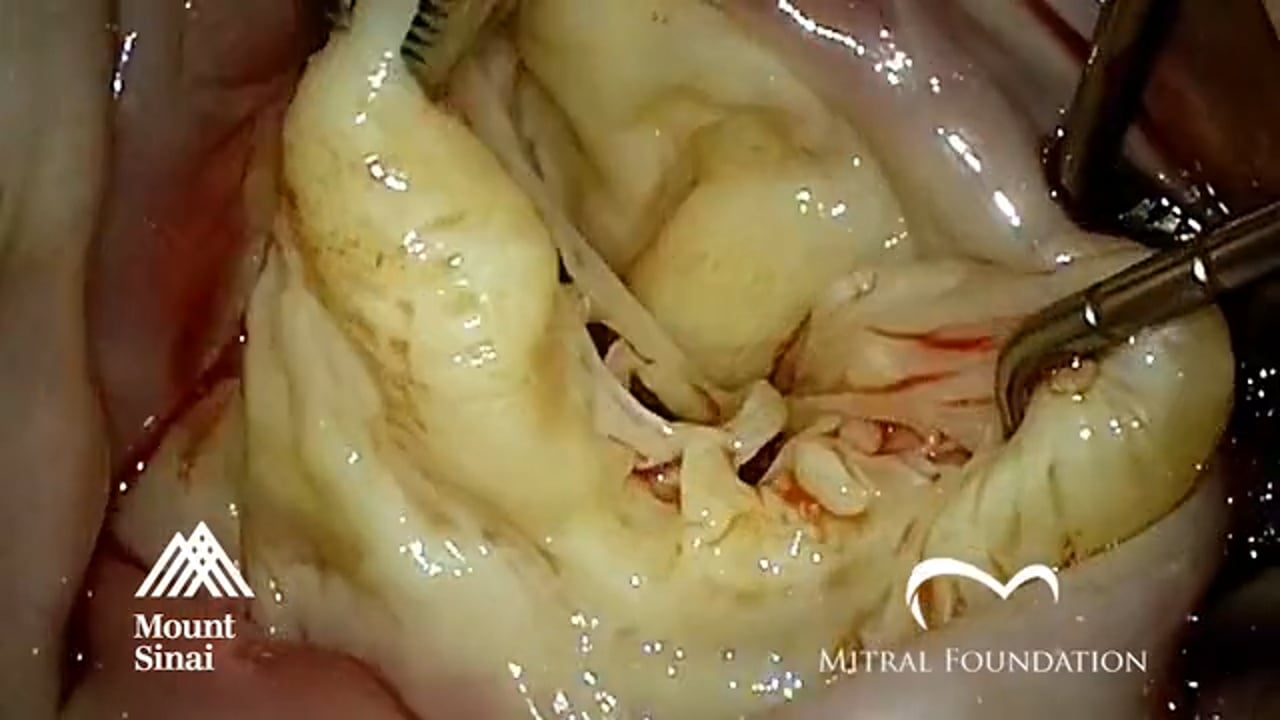
OPERATION: Complex Barlow Mitral Valve Repair (Size 36 Physio Ring Annuloplasty; Posterior Leaflet Resection with Commissure to Commissure Sliding Plasty, Gap Closure P2, P3; Correction of Anterior Leaflet Prolapse with Posterior Leaflet Flip Technique x 2; Gap Closure P2, P3)
SURGEON: David Adams, M.D.